DexArm Demo 1 - Color Recognizing and Sorting with OpenMV 4
In this demo blog, we will show you how to combine DexArm to an OpenMV 4 camera to recognize color blocks and sorting them into different colors. Basically, we used OpenMV 4 cam to recognize the color and get the object position and send it to DexArm via Serial port.
We use OpenMV4 cam in this demo, if you are using previous versions, you may need to adjust the pin connection and codes.
This is our first demo blog, we will share the step-by-step details with you. But if you need more details or have any suggestions, please feel free to leave a comment. We will get back to you soon:D
Before Start
Download OpenMV IDE
Download OpenMV IDE on https://openmv.io/pages/download
Download demo Python codes
DexArm_demo_openmv.py
Step 1 - Hardware Preparation
Components
-
Rotrics DexArm x 1
-
Pneumatic Kit x 1
-
OpenMV4 Cam x 1
-
DIY Type-C to 4-pin Serial cable
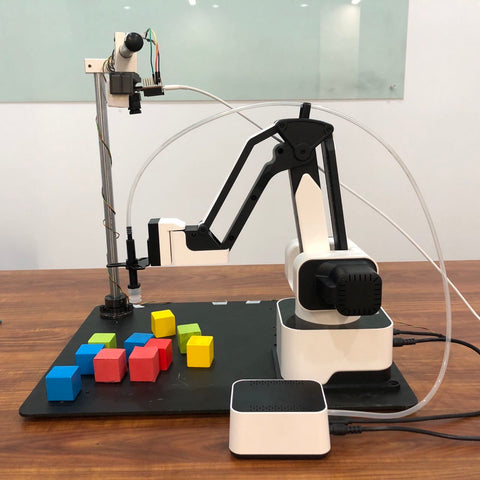
Connections
Connect OpenMV 4 to your PC or Mac. Connect DexArm with OpenMV's serial ports.
- P4(TX) to Type-C's RX 3
- P5(RX) to Type-C's TX 3
- GND to Type-C's GND
- VIN(3.6-5.0V) to Type-C's 5V (No need to connect it when the OpenMV connect to your PC)
Step 2 - Install OpenMV IDE
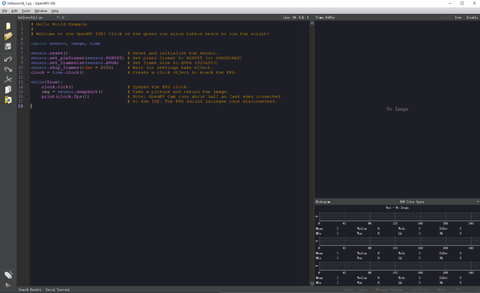
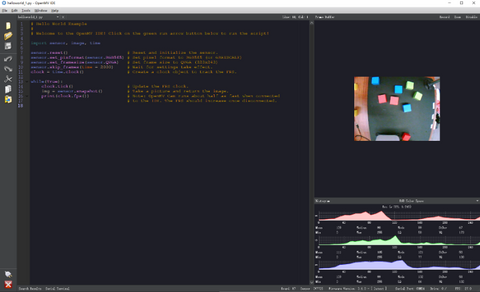
Click CONNECTION to connect your OpenMV cam and click RUN and you can see the images at the preview section:
Step 3 - Focus OpenMV Lens
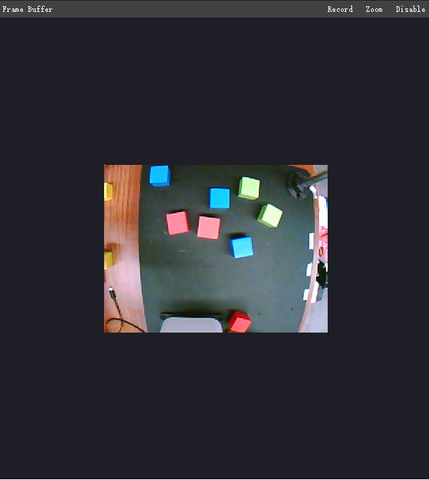
Before running the demo, we need to focus our camera lens first. If the camera hasn't been focused correctly, it won't recognize the objects and couldn't sort them. After focusing, we should able to view the objects on IDE clearly as shown below:
Step 4 - Open DexArm_demo_openmv.py
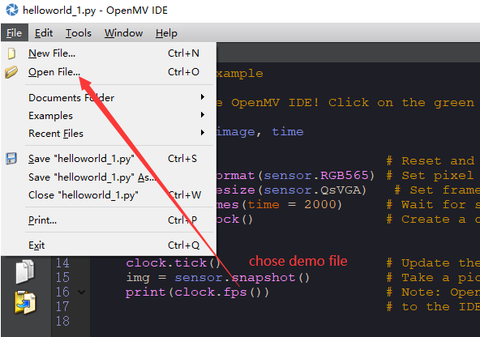
Click File -> Open File... to select the .py file and open it.
Step 5 - Adjust Camera Settings
The OpenMV cam is quite picky for lights, object shape, and color. To get the best sorting performance, we need to adjust the settings according to your own environment.camera recognize area [X1, Y1, X2, Y2]img_roi = [10,10,310,310]
The working area of DexArm is not limitless, so we need to set the camera's recognize area to make it within the DexArm's working area. It's suggested to set the front area of DexArm as the recognized area.
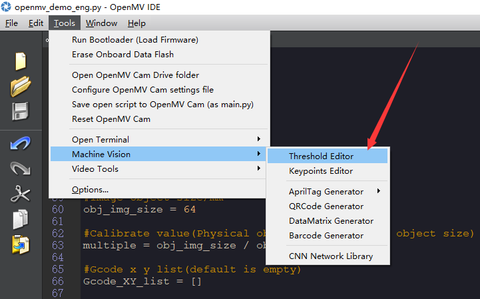
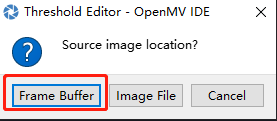
Click Tools -> Machine Vision -> Threshold Editor -> Frame Buffer to start editing color threshold.
Adjust the LAB's min and max value to set the color threshold and you can see the recognized area after setting.
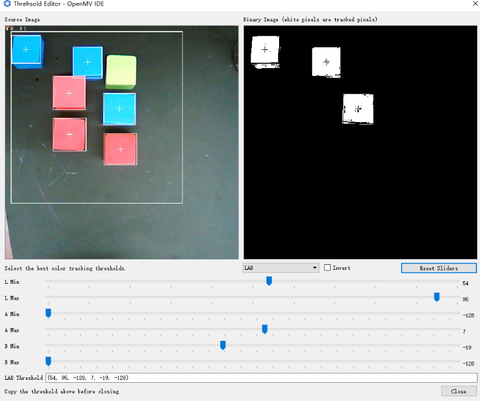
LAB is one of the color spaces, there are various color spaces such as RGB, CMYK, and LAB. In LAB color space:
-
L for lightness
-
Positive A for Red, negative A for Green
-
Positive B for Yellow, negative B for Blue
Adjusting the values according to your environment until you can see the shape of the Objects in the Binary Image area. Copy the LAB Threshold value to replace the corresponding color value.
#Green thresholdgreen_td = [(60, 100, -126, -29, -93, 91)]green_list = []#Red thresholdred_td=[(45, 94, 21, 104, -1, 125)]red_list = []#Blue thresholdblue_td=[(54, 95, -128, 7, -19, -128)]blue_list = []
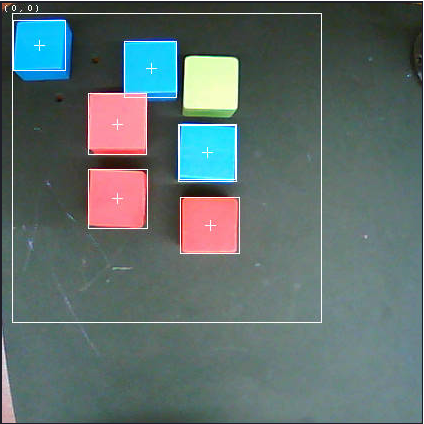
We can see that there is a (0, 0) point at the top left of the preview image. We need to put an object(in this demo, we use colorful woodblock) at the (0, 0) point and move air-pick above the (0, 0) point with the Basic panel. Replace the ARM_Origin_x and ARM_Origin_y value in the demo code:
#Robot arm origin positionARM_Origin_x = 286ARM_Origin_y = 45
Gcode Object heightGcode_Z = -35Target position for placingmove_pos_target = [(100,-210),(182,-210),(200,130)]
Move the Air-pick to the target position for placing with Rotrics Studio's Basic control panel as well. And replace the target X, Y, Z value to the Gcode_Z and move_pos_target value.
To set the object size, we need to put the object right below the camera to measure its size.
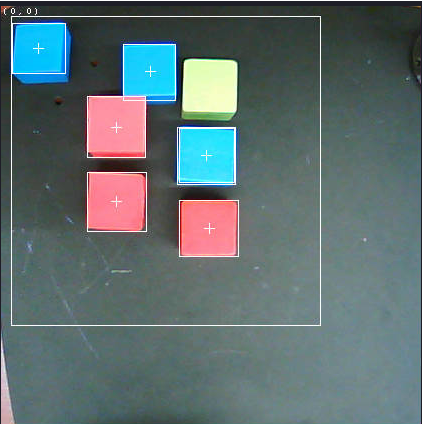
To avoid Serial stuck, comment the read_flag = True and uncomment the read_flag = False. Run the code and click the Serial Terminal:
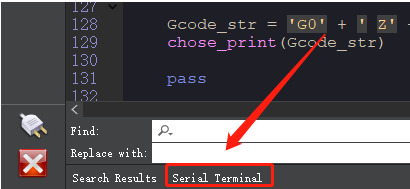
Now you could see the Serial Terminal prints the object data like:
59 62
60 60
60 57
3 [(114, 121), (115, 195), (208, 222)]
The first three rows are the object's pixel size in the image coordinate and the fourth row is a list with the center point of the object.
Replace the obj_img_size with the object's size and measure its physical size and replace the obj_face_size.
6) Calibrate the Image Coordinate and the DexArm Coordinate direction
We need to make sure the image direction is the same as the DexArm's direction, if not, adjust it according to the formulas.
Step 6 - Test The Demo
If every values have been set, uncomment the read_flag = True and comment the read_flag = False. Stop the .py code on OpenMV IDE.
Then connect DexArm to OpenMV with the DIY Type-C to Serial cable and power on DexArm. Click run on OpenMV IDE. If every value set correctly, then DexArm will start sorting different color objects.
Thanks for reading. Feel free to leave a comment below if having any questions or suggestions.
Thanks,
Baochun Feng & Jeff
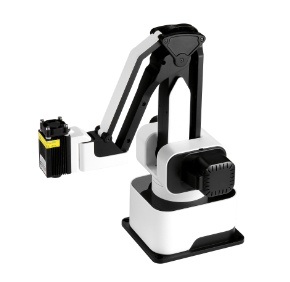


Hello, I have tried a couple different ways to connect the OpenMV to the serial port of the Dexarm with no luck. What am I missing and is there a more detailed document of what needs to connect and where. I have also found on Discord information that using UART3 on the Dexarm will work after defining the ports. Any help would be greatly appreciated.
thank you,
Michael